As per the accounting practice of journaling, you can record all transactions using Journal Vouchers (JV) in TallyPrime. However, there are specialized Accounting Voucher Types for different types of transactions like payments, receipts, sales, purchases, contra, debit notes, credit notes, and so on to ease data entry. Once you know how to enter a transaction in TallyPrime, you can similarly enter any transaction. Voucher Types in TallyPrime can be categorized as journals, purchases, sales, payments, receipts, contra, Inventory vouchers, order vouchers, and non-accounting vouchers. In this topic, you will understand how to record a transaction in TallyPrime or say, do an accounting entry in TallyPrime and learn more about the Voucher types provided for accounting in TallyPrime.
Apart from the 28 default Voucher types for accounting entry in TallyPrime, you can also create your Voucher types under the default Voucher types for easy accounting. For example, you can create Cash Sales under the Sales Voucher type so that you can identify and sequentially number all your cash sales.
For faster data entry operation, you can also use the Voucher class in TallyPrime.
Record Transactions #
Recording transactions for accounting entry in TallyPrime follow a simple pattern. You can record a transaction with the following steps. A transaction for payment of rent (expenses) is used as an example.
- Press Alt+G (Go to) > Create Voucher > press F5 (Payment).
Alternatively, Gateway of Tally > Vouchers > press F5 (Payment). - Press F2 (Date) to change the transaction date if needed.
When you press F2 to change the date, the date shown is for the subsequent day of the current date. This is done to avoid manual entry of date for the next day as the immediate next day is the most common business day. You can however enter any date, even a date before the current date. - In the Account field, select the Cash or Bank Ledger.
When you create a Company in TallyPrime, the system creates two ledgers by default – Cash and Profit & Loss A/c. - Provide the payment details.
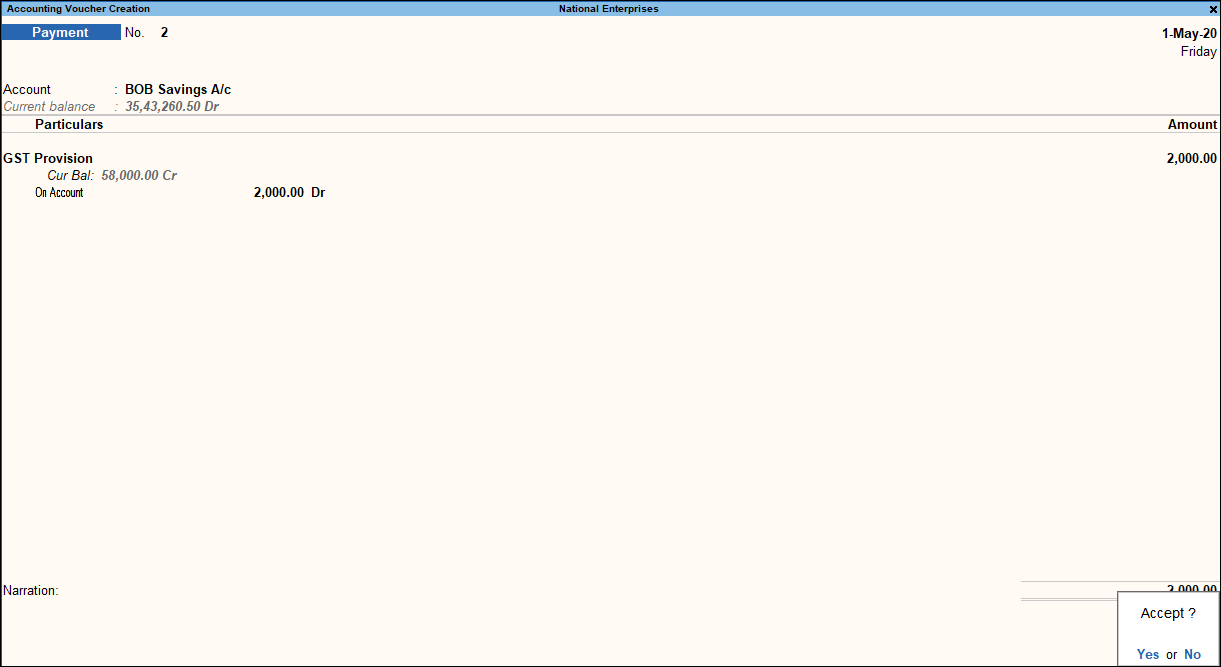
5. Provide Narration, if any, and accept the Voucher creation screen. As always, press Ctrl+A to save.


